DIY Basic Drone Repairs: A Helpful Guide
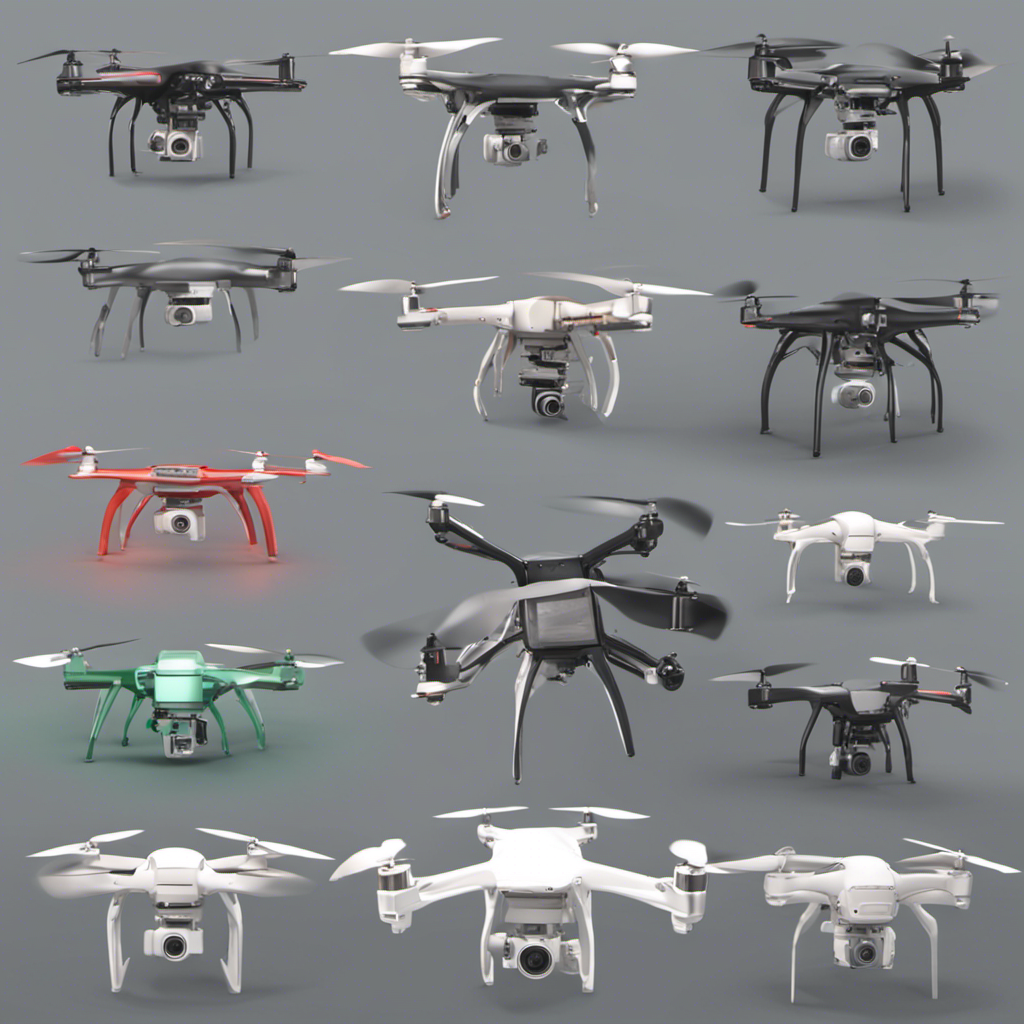
In recent years, drones have gained immense popularity among hobbyists and professionals alike. These unmanned aerial vehicles (UAVs) allow us to capture stunning aerial shots, explore remote areas, and even deliver packages. However, like any electronic device, drones are prone to damage and malfunctions. Knowing how to troubleshoot and repair basic issues is essential for every drone enthusiast.
In this comprehensive guide, we will walk you through some common DIY drone repairs, providing step-by-step instructions and practical tips. Before we dive into the repairs, let’s take a quick look at the essential tools you will need for most repairs:
- Screwdriver set (with various sizes)
- Soldering iron and solder
- Multimeter (for electrical troubleshooting)
- Needle-nose pliers
- Wire cutters
- Heat shrink tubing
- Electrical tape
- Isopropyl alcohol
- Microfiber cloth
1. Troubleshooting
When faced with a malfunctioning drone, it’s always best to start with troubleshooting. This process helps identify the root cause of the problem before attempting any repairs. Here are some common issues and their possible causes:
a. No Power
If your drone fails to power on, the problem may lie in one of these areas:
- Battery: Check if the battery is fully charged and properly inserted. If the battery is damaged, consider replacing it.
- Power Switch: Ensure that the power switch is in the “on” position and not stuck.
b. Inconsistent Flight
Flight-related issues can be frustrating, but they often have straightforward solutions:
- Propellers: Inspect the propellers for any damage or loose connections. Replace any broken or worn-out propellers.
- Flight Controller: Check if the flight controller is calibrated correctly. Refer to your drone’s user manual for specific instructions.
- Gyro and Accelerometer Calibration: Calibrating the gyro and accelerometer can help resolve flight instability issues. Consult your drone’s manual for calibration instructions.
c. Camera Malfunctions
A malfunctioning drone camera can hinder your aerial photography and videography:
- Camera Connection: Ensure that the camera is securely connected to the drone’s mainboard. Loose connections can cause intermittent camera problems.
- Settings: Verify that the camera settings and firmware are up to date. Some cameras may require specific firmware updates for optimal performance.
2. Basic Drone Repairs
Once you have identified the issue, you can proceed with the necessary repairs. Remember to exercise caution and refer to your drone’s user manual for detailed instructions. Let’s explore some basic repairs you can perform at home:
a. Motor Replacement
Damaged or burnt-out motors can result in unstable flight performance. Here’s a step-by-step guide to replacing a faulty motor:
- Power off the drone and remove the propellers.
- Locate the damaged motor. Most drones have four motors, labeled clockwise (CW) and counterclockwise (CCW).
- Carefully disconnect the motor’s wires from the flight controller board.
- Unscrew the motor from its mount using an appropriate screwdriver.
- Install the new motor by following the reverse steps.
b. Propeller Replacement
Propellers are susceptible to damage due to crashes or wear and tear. Follow these steps to replace a damaged propeller:
- Remove the damaged propeller by gently pulling it out.
- Align the new propeller with the motor shaft.
- Push the propeller onto the shaft until it is securely attached.
- Repeat the process for all propellers.
c. Battery Connector Repair
A faulty battery connector can prevent the drone from powering on or cause intermittent power loss. Repairing the connector may help resolve these issues:
- Power off the drone and disconnect the battery.
- Inspect the battery connector for loose or damaged pins.
- If the pins are dislodged, carefully realign and solder them back onto the mainboard.
- Use heat shrink tubing to insulate and protect the soldered connections.
Conclusion
Learning how to troubleshoot and repair basic drone issues can save you time and money. However, it’s crucial to keep safety in mind and consult professional help for complex repairs. In this guide, we have covered some common drone repairs, including motor and propeller replacements, as well as battery connector repairs.
Referencing reputable resources is essential in providing accurate information. The steps provided in this blog post were compiled based on the experience of drone enthusiasts, industry experts, and trusted drone manufacturers’ guidelines.
Remember, practicing good drone maintenance and adhering to manufacturer guidelines can prevent many potential problems. Regularly inspecting your drone, cleaning it, and updating firmware can help prolong its lifespan and enhance performance.
Happy flying and safe repairs!
Disclaimer: The information provided in this blog post is for educational purposes only. The author and website are not responsible for any damage or injuries resulting from the use of the information provided. Always exercise caution and consult professional help when unsure.
