
Top Raspberry Pi Projects for Beginners
Introduction
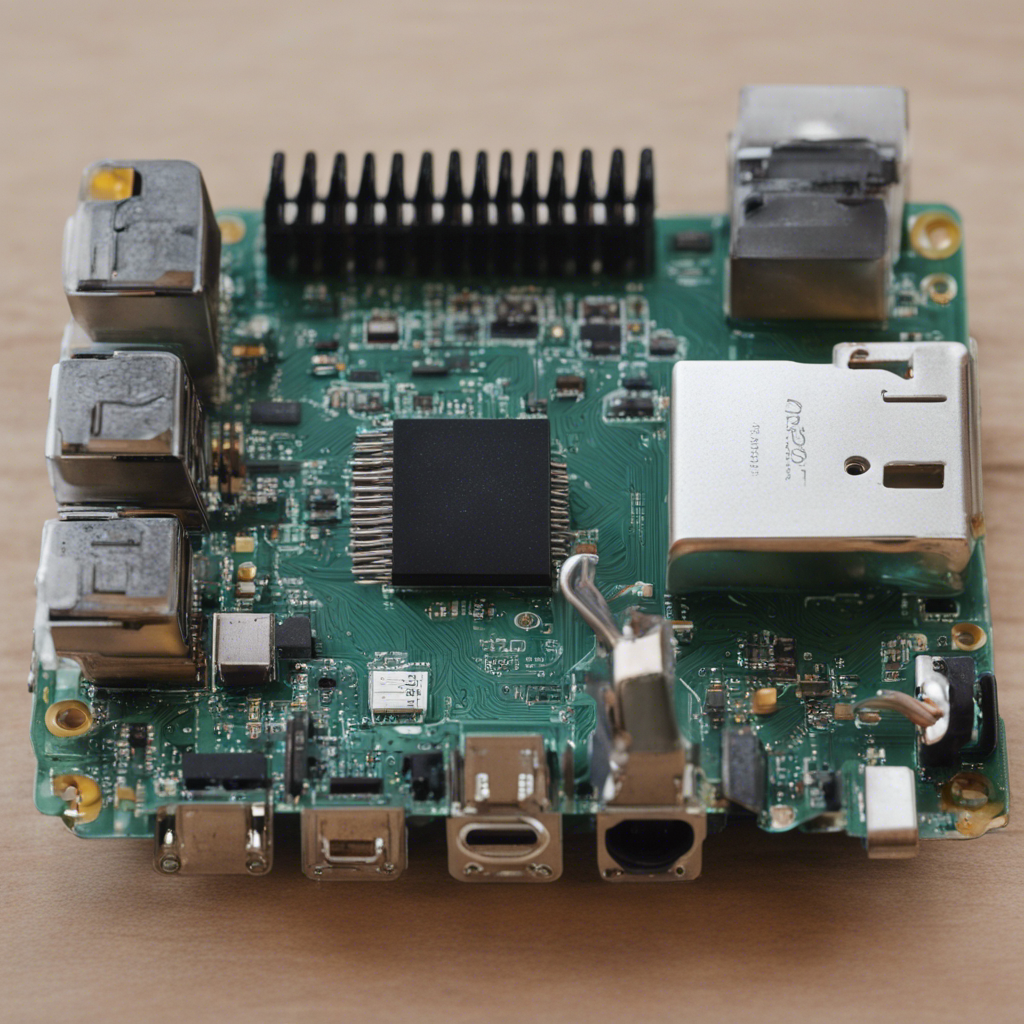
The Raspberry Pi is a credit-card-sized computer that has gained popularity among hobbyists, educators, and DIY enthusiasts. With its low cost, versatility, and user-friendly approach, it has become an excellent platform for learning and experimenting with various projects. Whether you are a beginner or a seasoned tech enthusiast, the Raspberry Pi offers endless possibilities for you to explore.
In this blog post, we will showcase some of the top Raspberry Pi projects suitable for beginners. Each project listed here is beginner-friendly, meaning you don’t need any advanced programming or electronics knowledge to get started. We will provide step-by-step instructions, along with recommended resources and references, to help you successfully complete each project.
1. Retro Gaming Console
If you have a knack for old-school video games, turning your Raspberry Pi into a retro gaming console is an excellent project to start with. With the help of software like RetroPie, you can transform your Pi into a portable gaming console capable of running classic games from various retro gaming consoles.
To get started with this project, you will need a Raspberry Pi board, a microSD card, a USB game controller, and a display output such as an HDMI cable or a composite video cable. Follow our detailed instructions on how to set up RetroPie and configure your Raspberry Pi as a retro gaming console.
For a more detailed tutorial, refer to the official RetroPie documentation: RetroPie - Getting Started
2. Home Media Center
If you enjoy streaming movies, music, and other digital media, turning your Raspberry Pi into a home media center is a worthwhile project. With software like Kodi or Plex, you can create a media center that can manage and stream your media files to your TV, computer, or mobile devices.
To get started, you will need a Raspberry Pi board, a microSD card, a power supply, and a display output. Install the preferred media center software on your Raspberry Pi, configure it, and connect it to your media storage devices or network shares. The software will then allow you to browse and enjoy your media collection from the comfort of your living room.
For detailed instructions on setting up Kodi, visit the official Kodi website: Kodi - Installation guide
3. Weather Station
Understanding and observing the weather is an interesting and educational activity. With a Raspberry Pi and a few additional components, you can create your own weather station to monitor various weather parameters like temperature, humidity, and atmospheric pressure.
To build a weather station, you will need a Raspberry Pi board, a microSD card, a weather sensor (such as the DHT11 or BMP180), and some basic electronic components. Connect the weather sensor to your Raspberry Pi, install the necessary software libraries, and start collecting weather data. You can even upload your data to online platforms like Weather Underground or create your own custom visualization using tools like Python and Matplotlib.
For a detailed weather station tutorial, check out the Adafruit Learning System: Raspberry Pi Weather Station
4. Home Automation System
Home automation allows you to control and monitor various aspects of your home remotely. With the help of a Raspberry Pi and additional components, you can build your own home automation system to control lights, appliances, security systems, and more.
To create a home automation system, you will need a Raspberry Pi board, a microSD card, a relay module, and various sensors for monitoring different parameters. Install a platform like Home Assistant or OpenHAB on your Raspberry Pi, configure it to interact with your devices, and start automating your home.
For a comprehensive guide on home automation using a Raspberry Pi, refer to the official Home Assistant documentation: Home Assistant - Installation Guide
5. Pi-powered Robot
If robotics sparks your interest, building a Raspberry Pi-powered robot can be an exciting project. You can create a simple wheeled robot that can move, detect obstacles, and respond to its surroundings.
To build a Raspberry Pi-powered robot, you will need a Raspberry Pi board, a microSD card, a motor driver board, motors, wheels, and sensors like ultrasonic range finders. Assemble the robot chassis, connect the motors, sensors, and the motor driver board to your Raspberry Pi, and program it to perform the desired tasks using Python or a robotics-focused programming language like Scratch.
For a detailed guide on building a Raspberry Pi-powered robot, check out the official Raspberry Pi Foundation’s resource: Raspberry Pi - Build a Robot
Conclusion
The Raspberry Pi offers endless possibilities for beginners to learn and explore different projects. From retro gaming consoles to home automation systems and robotics, the versatility of the Raspberry Pi makes it an excellent platform to dive into the world of DIY electronics and coding.
Remember to always take caution when working with electronic components and follow safety guidelines. Start with simpler projects and gradually progress to more complex ones as you gain confidence and experience.
Whether you are interested in retro gaming, home automation, weather monitoring, or robotics, there is always a Raspberry Pi project waiting for you to embark on. So, grab your Raspberry Pi board, gather the components, and let your creativity run wild!
Disclaimer: The URLs provided in this blog post are valid as of the time of writing. Please ensure to check for any updates or changes in the respective official documentation websites.


