Prototyping 101: Bringing Ideas to Life
Have you ever had a brilliant idea for a product or innovation but didn’t know where to begin to bring it to life? Prototyping is the key to transforming your idea into a tangible reality. In this comprehensive guide, we will take you through everything you need to know about prototyping, from its importance and benefits to the various types of prototypes and the steps involved in creating one.
Why is Prototyping Important?
Prototyping is a crucial step in the product development process that allows you to test and refine your ideas before investing in full-scale production. It serves as a visual representation of your concept, enabling you to identify design flaws, usability issues, and potential improvements early on. By gathering valuable feedback from users and stakeholders, prototyping minimizes risks and saves time and resources in the long run.
The Benefits of Prototyping
-
Ensuring Design Feasibility: Prototyping helps determine whether your idea can be physically realized and highlights any technical challenges or constraints that need to be addressed.
-
User-centered Design: By creating prototypes, you can involve users in the early stages of development, solicit their feedback, and incorporate their preferences, resulting in a user-centric product.
-
Iterative Improvement: Prototyping allows you to iterate and refine your design based on user feedback, making incremental improvements and ultimately creating a superior final product.
-
Effective Communication: Prototypes serve as a powerful communication tool, enabling you to convey your vision to stakeholders, investors, and team members more effectively than mere words or drawings.
-
Cost and Time Savings: Detecting flaws and making changes during the prototyping phase is significantly more cost-effective than modifying a fully developed product or starting from scratch.
Types of Prototypes
There are several types of prototypes, each serving different purposes. Let’s explore the most common ones:
-
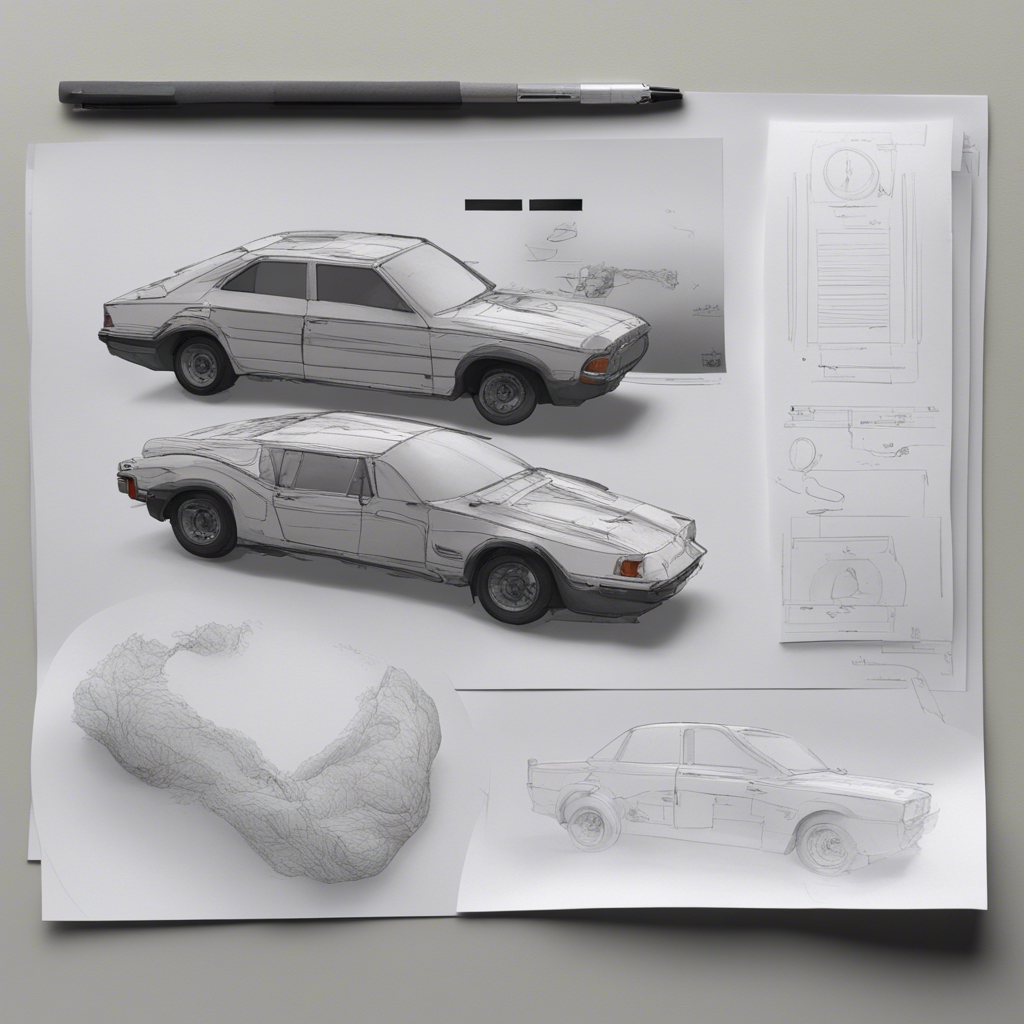
Sketches and Wireframes: These low-fidelity prototypes illustrate basic design concepts and layout without intricate details. They are ideal for brainstorming and initial feedback gathering.
-
Mockups: Mockups are static, high-fidelity representations of the final product. They often resemble the actual product but lack interactive functionality. Mockups help evaluate aesthetics, branding, and overall visual appeal.
-
Proof of Concept (POC) Prototypes: POC prototypes focus on showcasing the technical feasibility of an idea or a key feature. They aim to validate the concept’s viability before investing resources in full-scale development.
-
Functional Prototypes: These prototypes closely resemble the final product in both appearance and functionality. They provide a realistic user experience and allow testing of various elements, such as user interface, ergonomics, and performance.
-
Interactive Prototypes: Interactive prototypes simulate the actual user experience through functional interfaces, allowing users to interact and provide feedback. They are often used to test usability, navigation, and user flows.
The Prototyping Process
While the exact prototyping process may vary depending on the project and its complexity, the following steps provide a general framework for bringing your ideas to life:
-
Define Objectives and User Needs: Clearly define your objectives, target audience, and user needs. This will help guide your prototyping efforts and ensure you stay focused throughout the process.
-
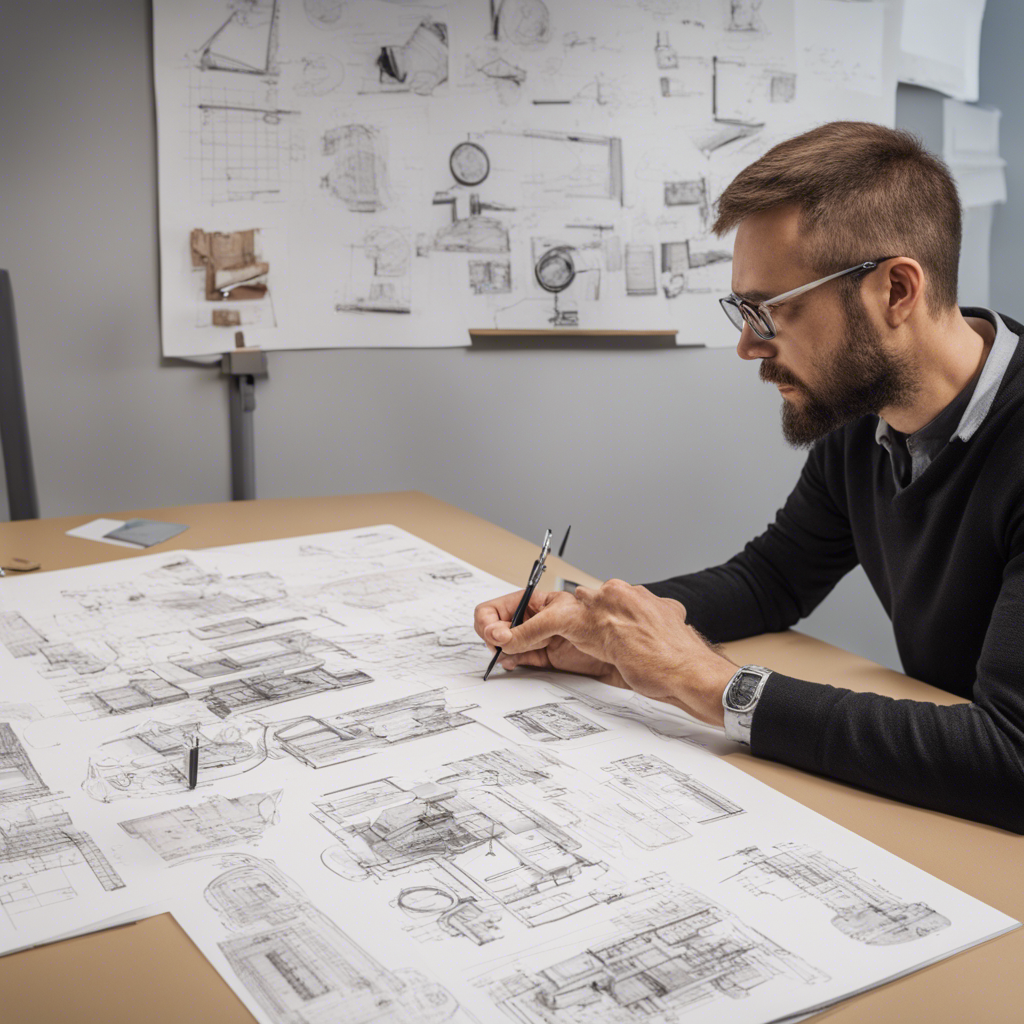
Brainstorm and Sketch: Generate ideas and sketch rough concepts. The emphasis here is on quantity rather than quality. Encourage creativity and free thinking.
-
Select the Appropriate Prototype Type: Based on your objectives and user needs, choose the most suitable prototype type(s) to create. Consider the level of detail required and the resources available.
-
Create the Prototype: Utilize prototyping tools like Adobe XD, Sketch, or InVision to develop your prototype. Ensure that you capture the key functionalities and user interactions accurately.
-
Gather Feedback and Iterate: Share your prototype with various stakeholders, including potential users, team members, and experts. Collect feedback and identify areas for improvement. Iterate on your design based on the feedback received.
-
Repeat Steps 4 and 5: Depending on the complexity of your project, you may need to go through several iterations of prototyping and feedback gathering until you achieve a satisfactory result.
-
Prepare for Production: Once your prototype meets all the desired objectives and requirements, prepare the necessary documentation and specifications for production.
Tools and Resources for Prototyping
There is a wide range of tools available to assist with the prototyping process. Here are a few popular ones:
-
Adobe XD: A professional UX/UI design and prototyping tool that allows you to design, prototype, and share interactive experiences.
-
Sketch: A vector-based design tool that specializes in rapid prototyping, offering an extensive range of plugins and integrations.
-
InVision: A popular prototyping and collaboration platform that enables you to create interactive mockups and gather feedback from various stakeholders.
-
Figma: A cloud-based design and prototyping tool that supports real-time collaboration, allowing team members to work together seamlessly.
Conclusion
Prototyping is an integral step in transforming your ideas into successful products. By enabling experimentation, user feedback, and iterative improvements, prototypes serve as a catalyst for innovation and the realization of your vision. By following the prototyping process, leveraging the appropriate tools, and incorporating user-centric design, you can bring your ideas to life with greater confidence, efficiency, and success.
Please note that this blog post serves as a general guide to prototyping and may not cover all the intricacies of every specific project or industry. For specialized advice, always consult professionals and experts in your field.
References:
- “The Benefits of Rapid Prototyping” - Stanford Design School: https://dschool.stanford.edu/resources-collections/the-dschool-prototyping-class
- “Why Prototyping is Important in Product Design” - Cacoo Blog: https://cacoo.com/blog/why-prototyping-is-important-in-product-design/
- “Prototyping” - Interaction Design Foundation: https://www.interaction-design.org/literature/topics/prototyping


